Part 2.

Modeling.

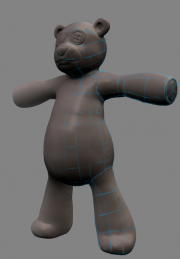
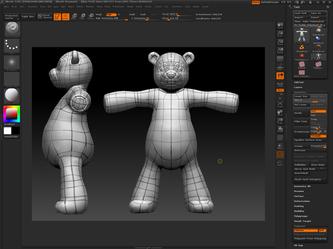
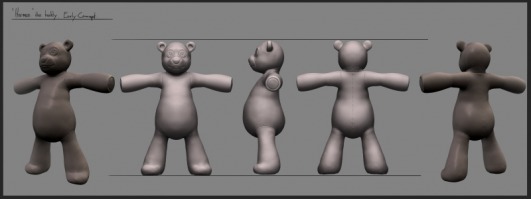
Next step along the way was to model this character. I was so happy that I was given that task. I have only made one character before, so this was a great opportunity to get more experience in modeling and rigging. Before I could start, I needed some drawings to speed up my modeling. Knut said he could take care of it, and he did. He modeled the concept in Zbrush so I could us those renders as guidance references. I took the left and front picture and lined them up and I was ready to start modeling.

Picture
Zbrush concept by Knut Eliassen
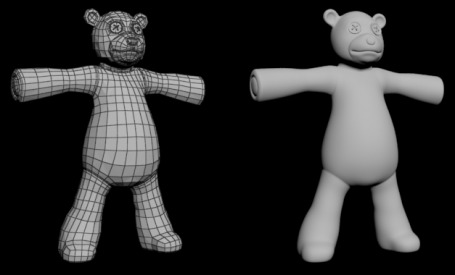
After a day, I was really happy with my progress. But, I hadn’t taken in consideration that this teddy bear was going to have some heavy animation. The polyflow was not good. Simple as that. I got a tip that I should draw the poly flow on top of the concept pictures. So I did that, and started to model it from the start again.

Picture
Early thoughts for polyflow
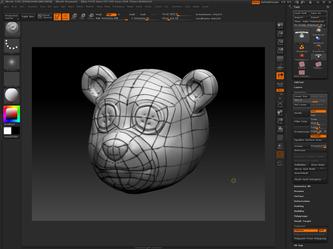
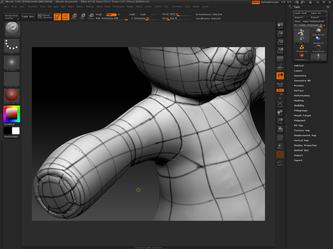
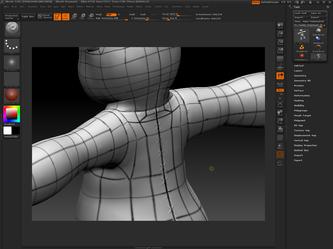
I showed the model to Knut, and he saw it and told me that it wasn’t what he called optimized. He asked me to model the bear again. At that point, I got a bit pissed to be honest. This teddy was my worst enemy at that point and I hated it big time. But then Knut told me that he would help me. 2 hours later, he had drawn on the polyflow inside Zbrush. He saved the day.

And, no one mentioned to me that I could import that Zbrush model into max, and then use the new polyflow toolset to model on top of the Zbrush model. Hallelujah! Now the modeling went fast. Could just drag out some poly’s here, there, and over here again, and Voila! Model was ready for inspection form Knut. He was much more happy this time, but he did some small changes so we got some more detail overall.

Picture
Texture.

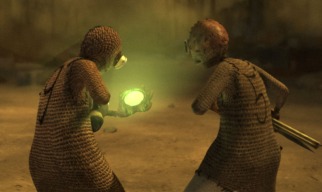
Next step to get Herman ready was to texture him. I was thinking of a material like the characters in Shane Acker’s “9”. I thought that would give him a lot of character. But it didn’t look very good, and the others were not happy about it either.

Picture
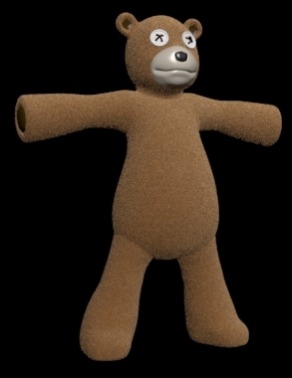
So I needed to create a hairy texture for the teddy. Something close to a standard teddy bear texture. In my head, there were 3 different methods of achieving the result we wanted.

Hair and fur - this would probably look most realistic. You would get physical hair, and a nice fluffy look. But I have never used it in a setting like this. I am not sure about the range of options within hair and fur. So if I wanted to use this, I had to learn it, try and fail a lot. Time I really don’t had. And maybe the most import reason why not to chose this one, render time.

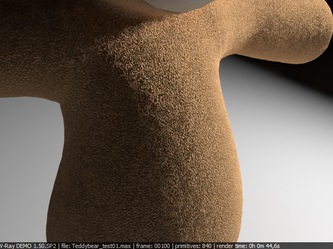
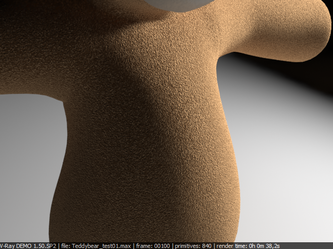
Displacement - to get small little hairs, you need a map that generates black and white dots, with extreme high contrast. The standard map called speckle did that. Here I needed to test a bit before I could make up my opinion. I saw that it looked good, and gave a feel of small hairs. The render time was not bad, but needed to compare it with bump.

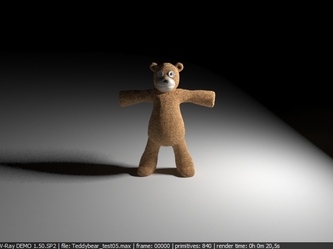
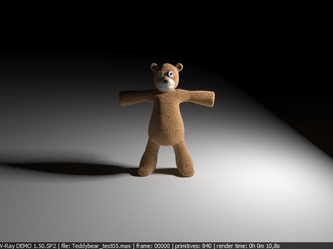
Bump - I was thinking that this would give fewer details than the displacement would, but the render time would be better. I used the same speckle map in the bump slot, and got some results. From long distances you couldn’t see much different, but the render time was reduced to half. Close up, you could see some differences that were noticeable.
Conclusion - I did not even bother to try Hair and Fur, even though some wanted to see how it looked. It would have taken too much time of exploring and learning a whole new system. The displacement looks best close up, but from a long distance you cannot see much difference between bump and displacement. So I made two textures, one for close-ups shots where displacement is used, and one with bump, which could be used for long range shots.

Picture
Note: animation process has started and it seems that the speckle map do not like that. The texture is going crazy. It flickers and does not look good at all. I think that it is because the speckle map generates a so big contrast between black and white, that the small hairs gets too extreme. The light is not being bounced inside the hairs good enough, so this creates the flicker. We have to use a noise map in the bump slot instead. A cheap solution, but I think we can pull it off.

Experience:

Learned a lot of how important it is to get a smooth and efficient polyflow, and how to achieve it, and I saw how powerful the workflow of jumping from Zbrush to 3ds Max is. Really want to learn Zbrush now.

I have also learned that it is important to try and fail when it comes to texture. You need to know what you need the texture for, and how close you are going to see it. You can save much rendering time if you get the right textures in the right sizes.
10/20/2010 06:07:13 pm

The journey of life there are many, Are also well, Who are busy day for harvest, Can harvest has also bitter sweet. Both are rich people are poor, Jack is difficult to buy fitness, So I hope you always happy.

Reply
11/29/2010 10:21:41 am

I will never forget the splendid time we spent together.

Reply
11/30/2010 03:18:42 pm

Se trata de un excelente article.Thank usted para compartir!*

Reply
1/25/2011 11:49:57 am

If you doubt yourself, then indeed you stand on shaky ground.

Reply
3/6/2011 11:44:06 am

When you have much time and healthy body to enjoy the taste of freedom. It is going to be great!

Reply
3/29/2011 06:28:19 pm

Life is just a series of trying to make up your mind.

Reply


Leave a Reply.